The “HANG” Up

Hello all  “Mad Renovator” friends, sorry I’ve been on hiatus for a couple of months.  March and April are always crazy for me, but now I’m back and ready to talk more about my favorite place in my house — my closet! 

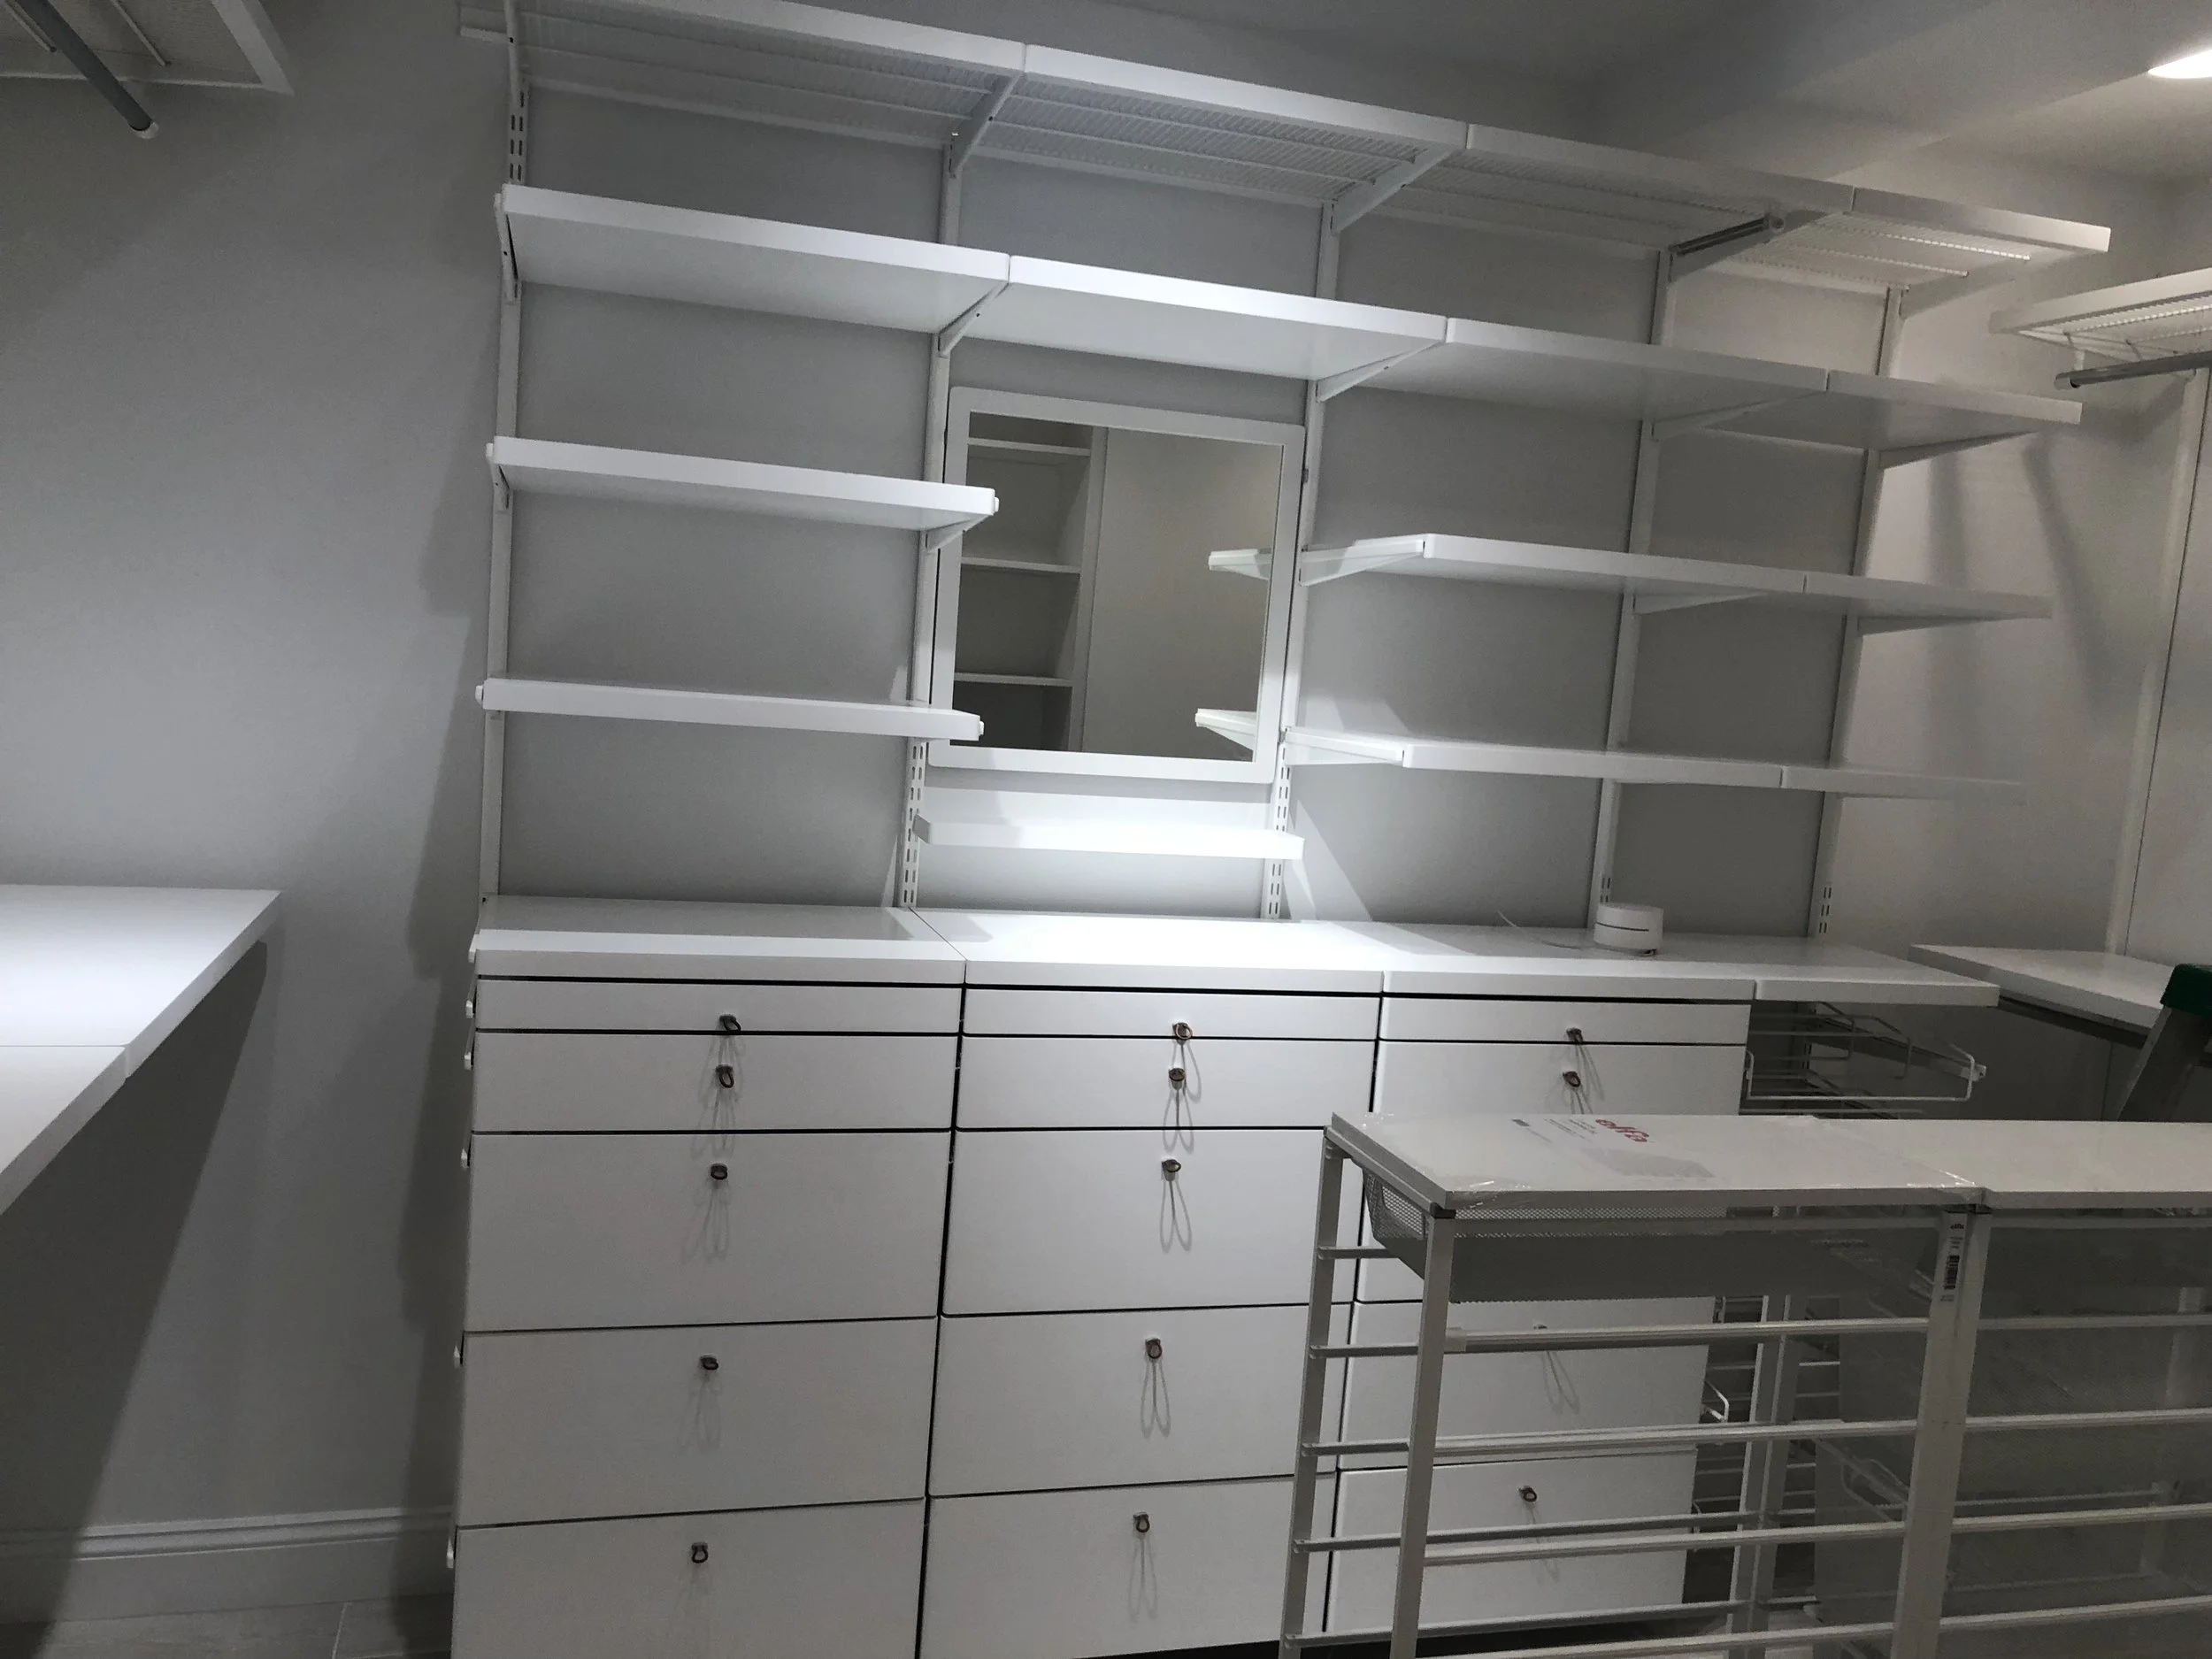
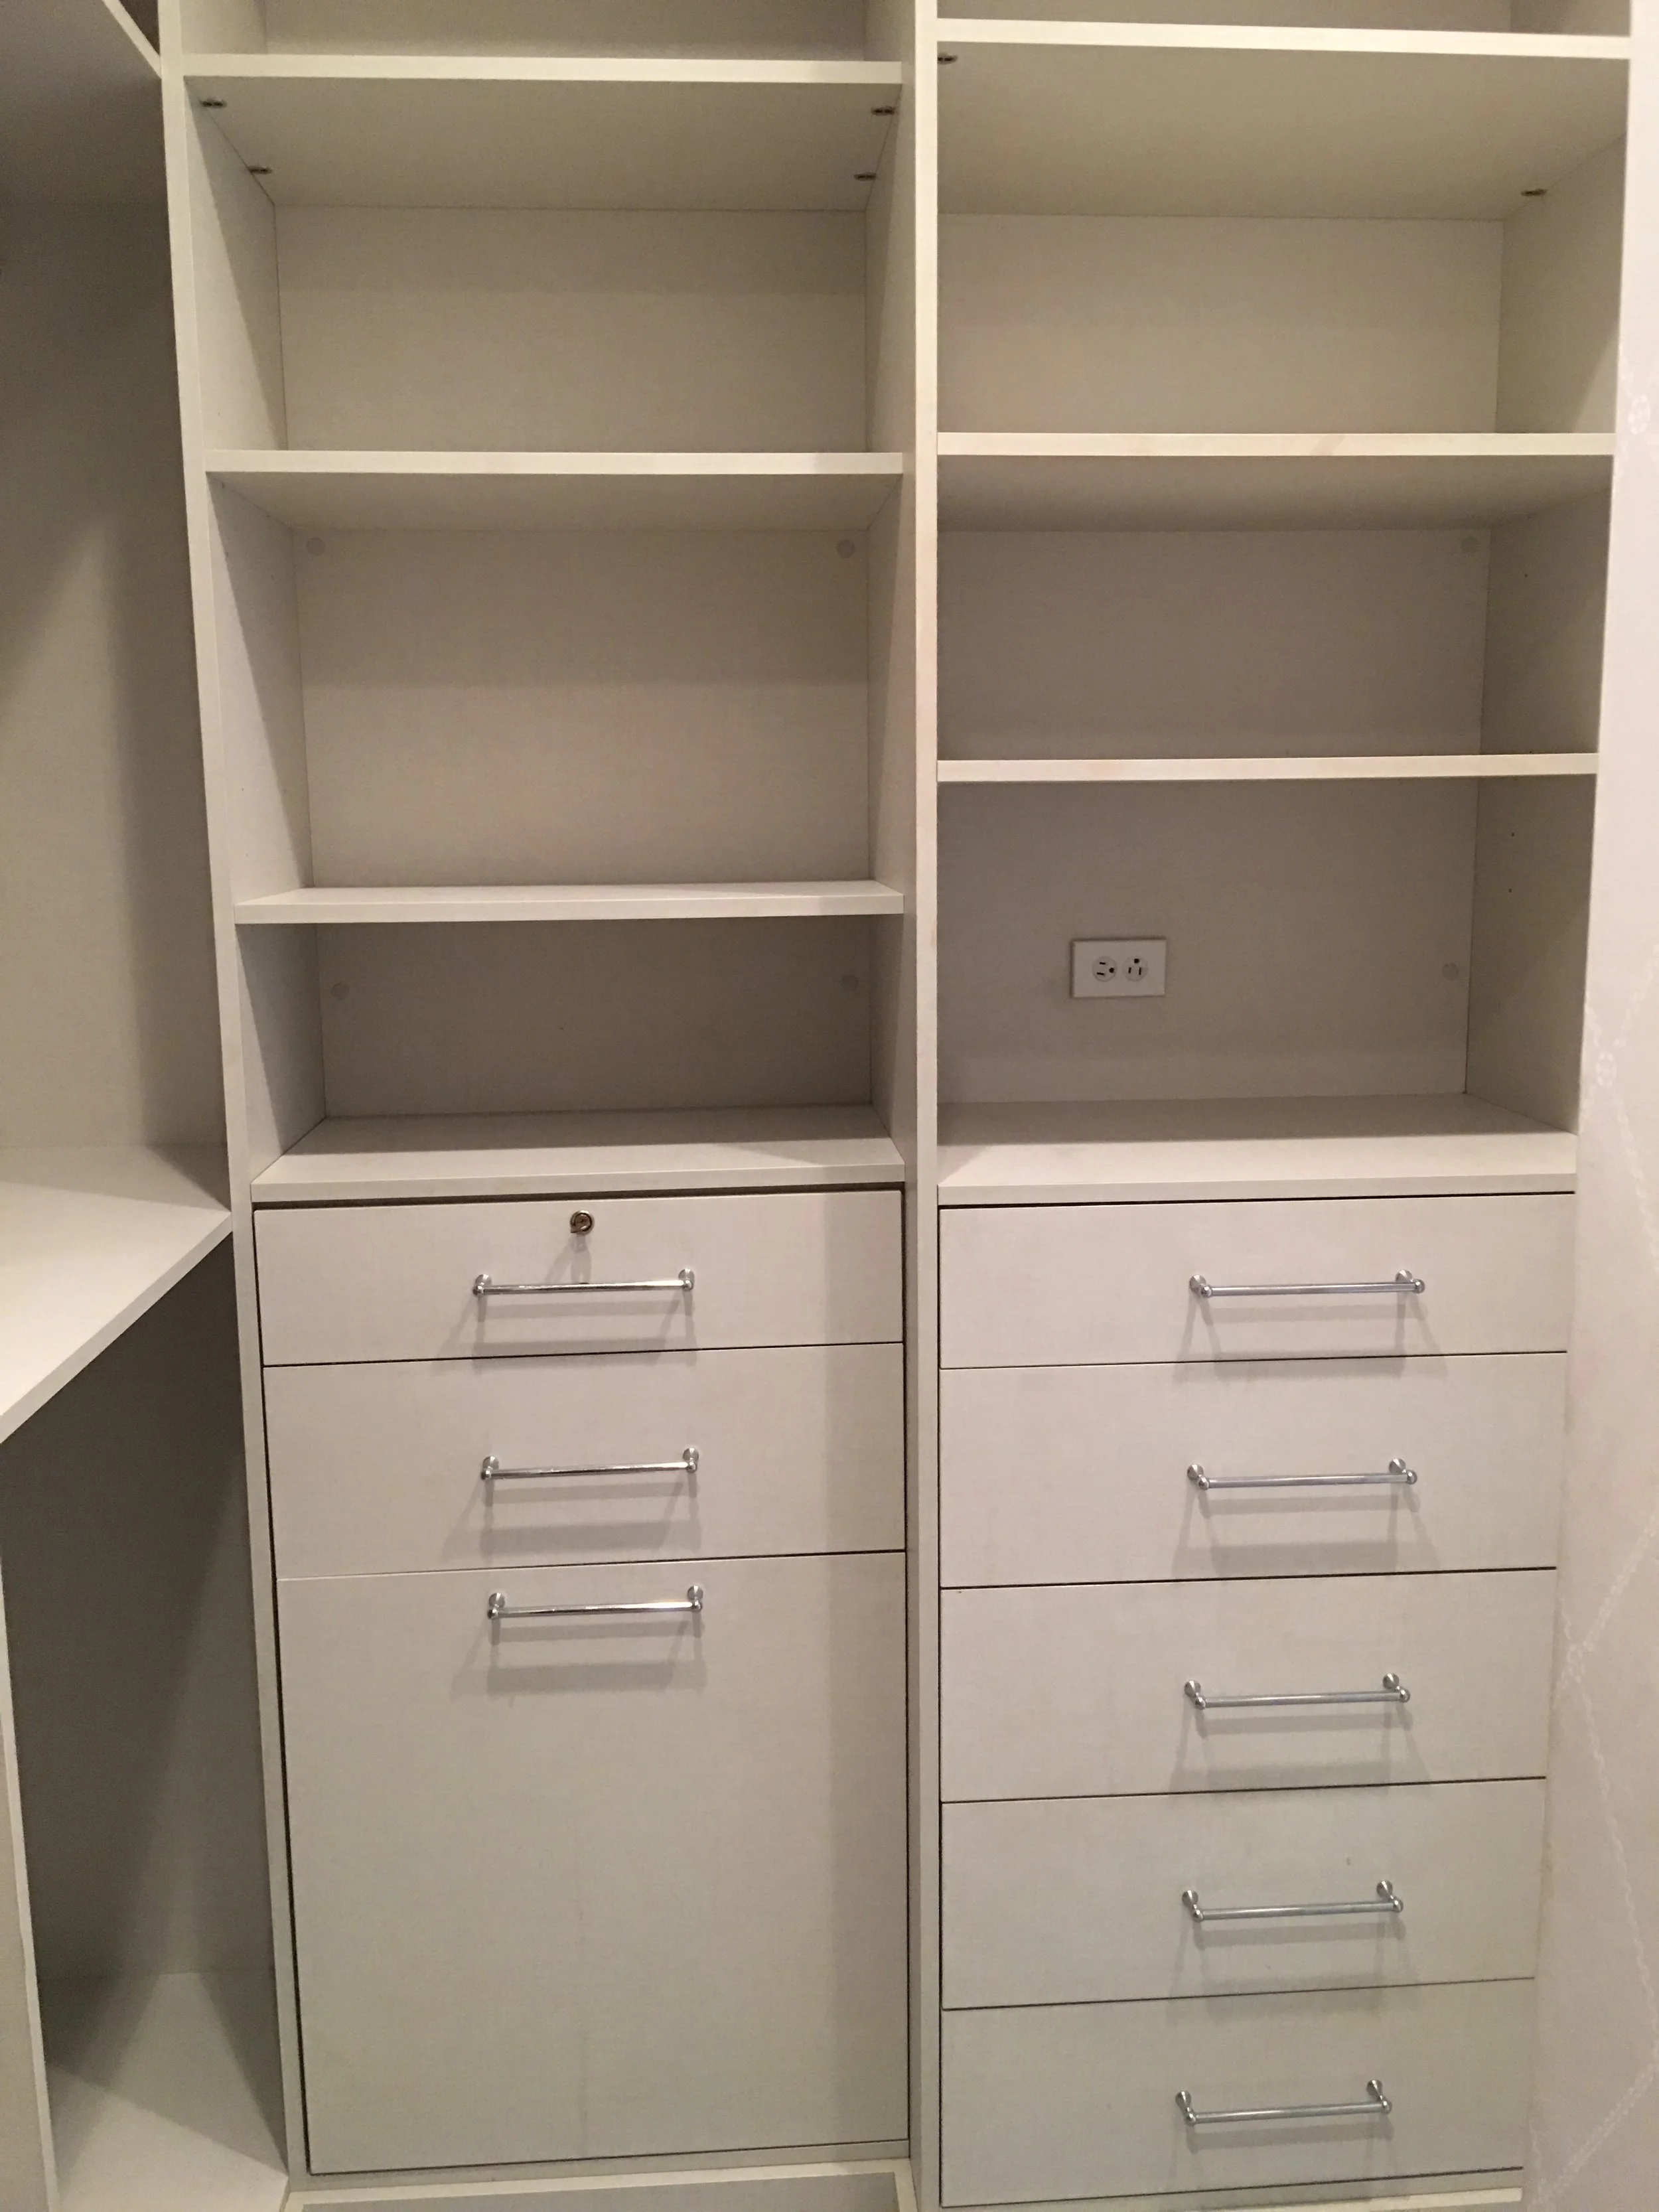
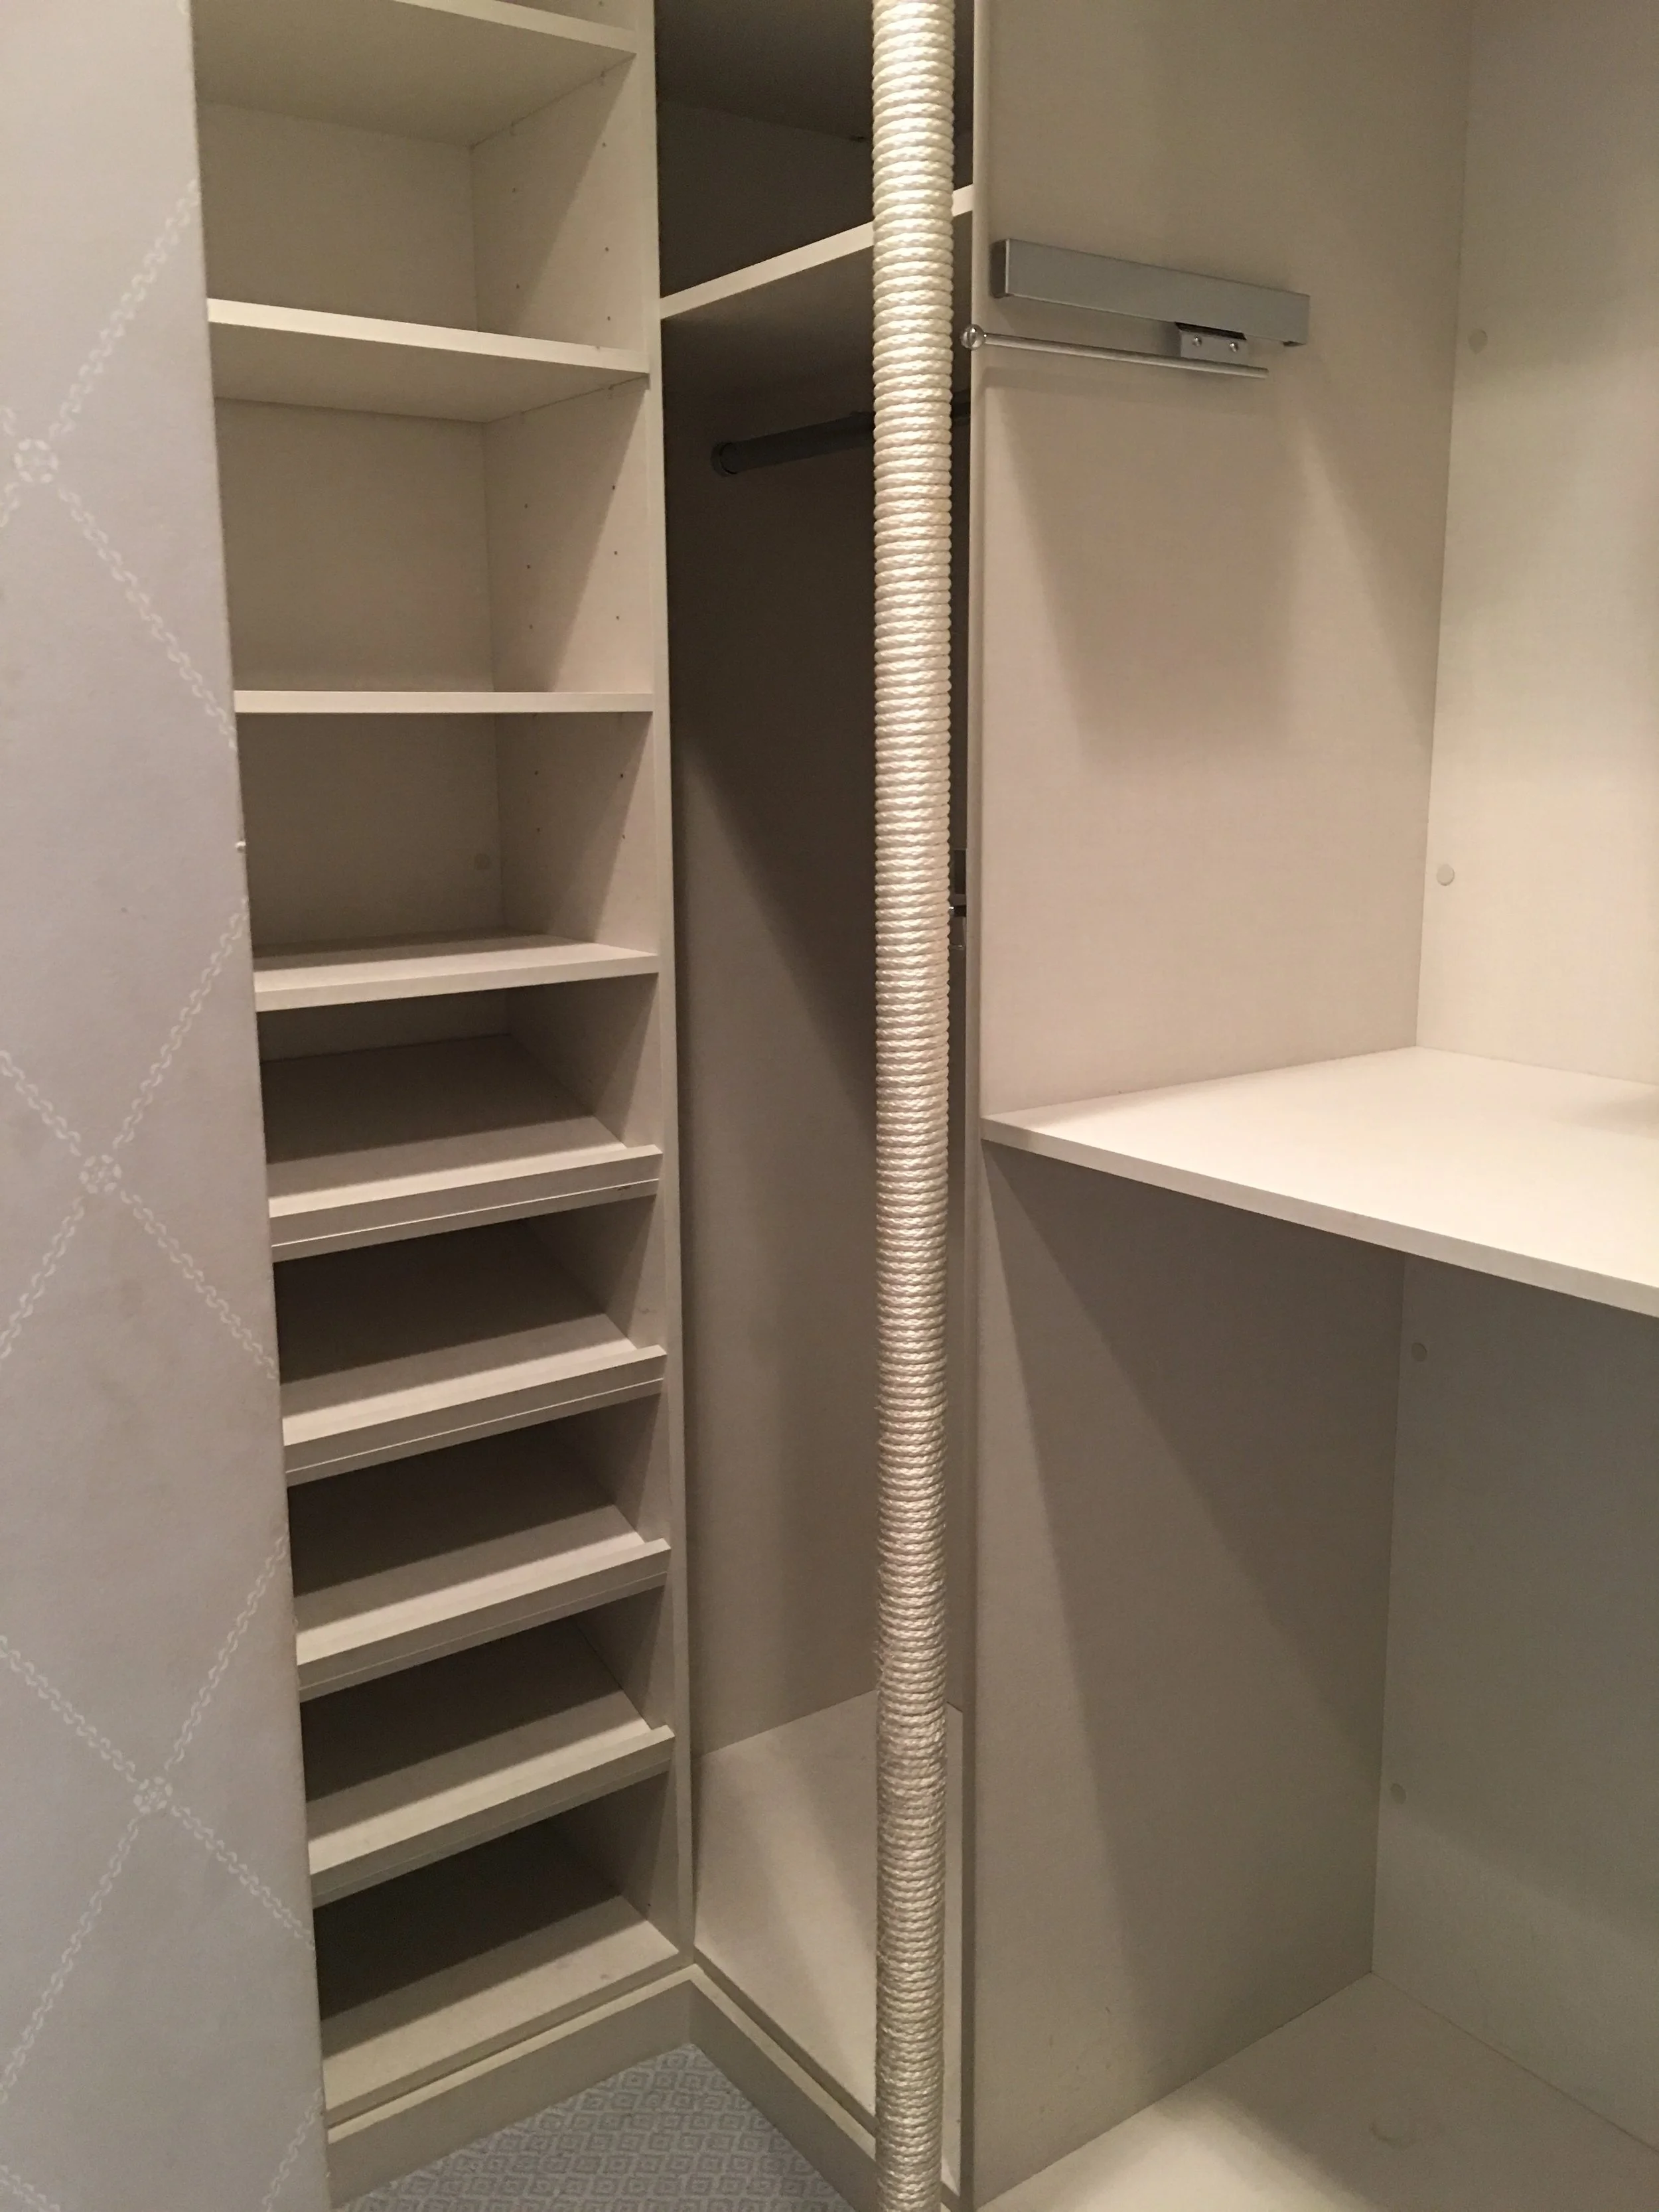
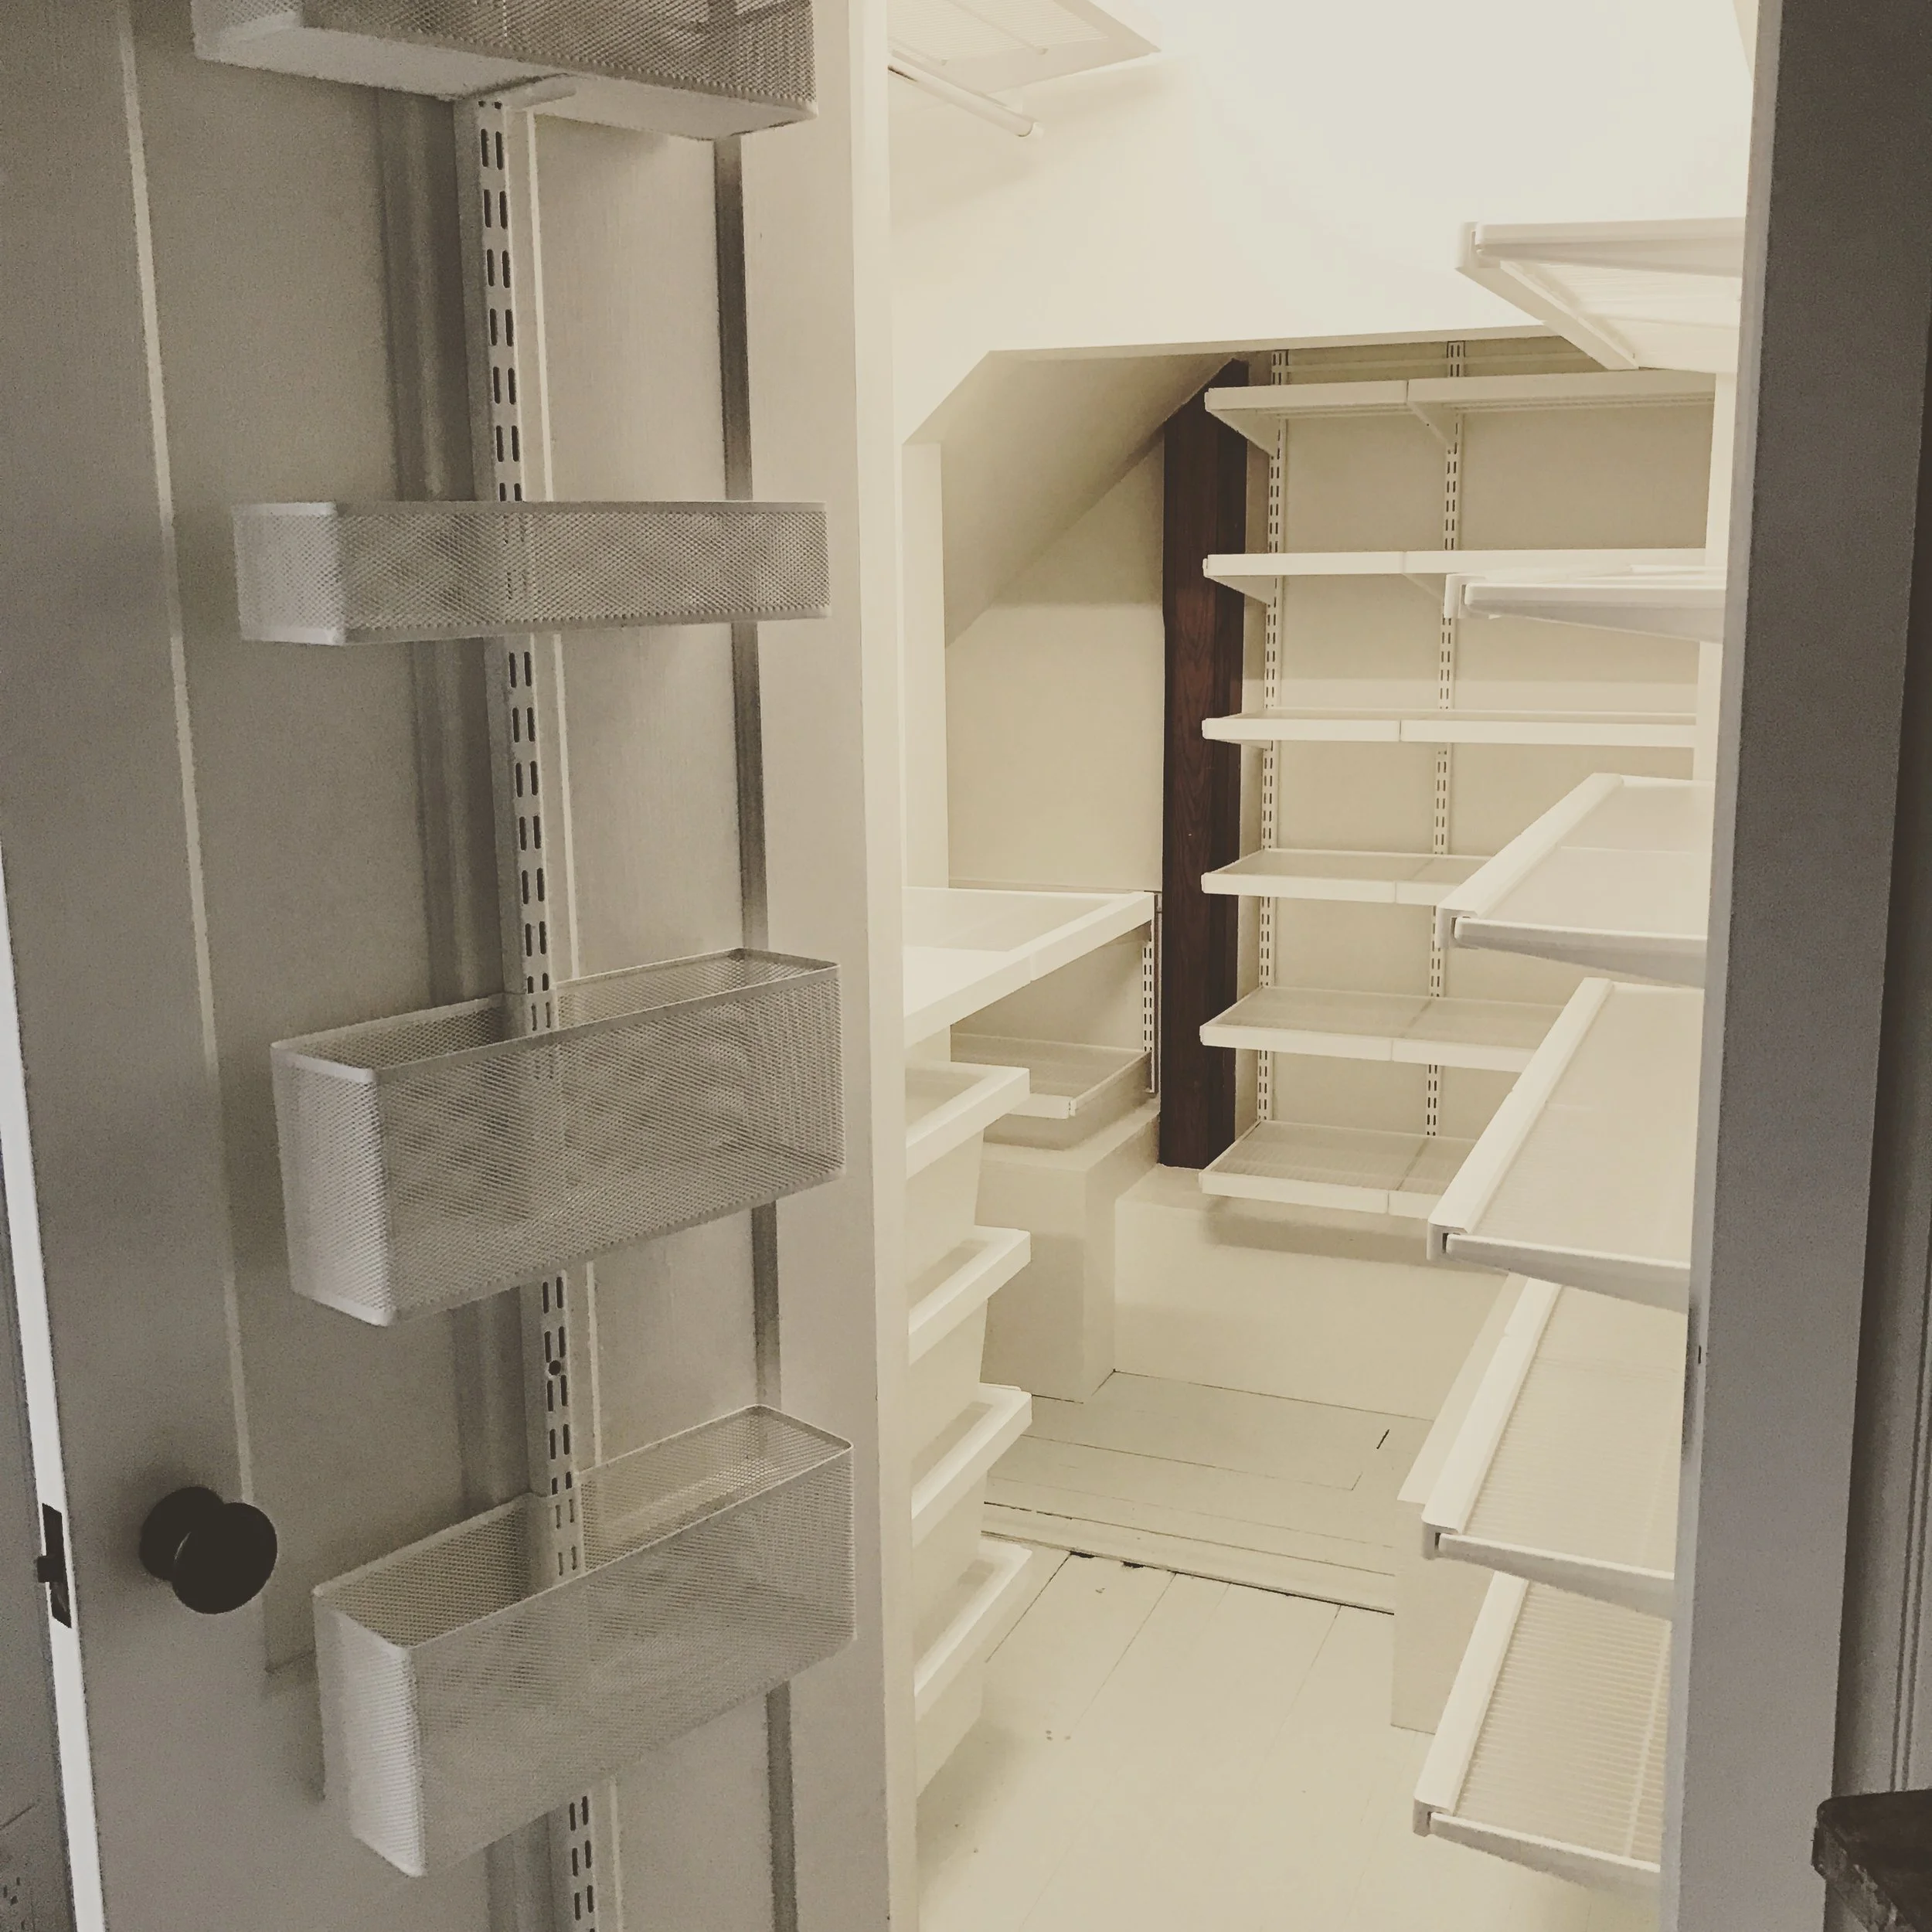
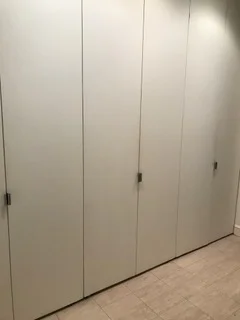
Where we last left off the closet had finally been built - YEAH! All my clothes were coming out of storage - YEAH!  👗👠👜👓 and now I had to figure out how to organize the space into a functional sanctuary for my morning ritual of dressing.  I had dreamed of what my perfect closet would look like, but nothing is ever perfect, and I quickly realized my dream of having all my clothes, all 4 seasons worth, in one space was not going to be a reality. ☹️

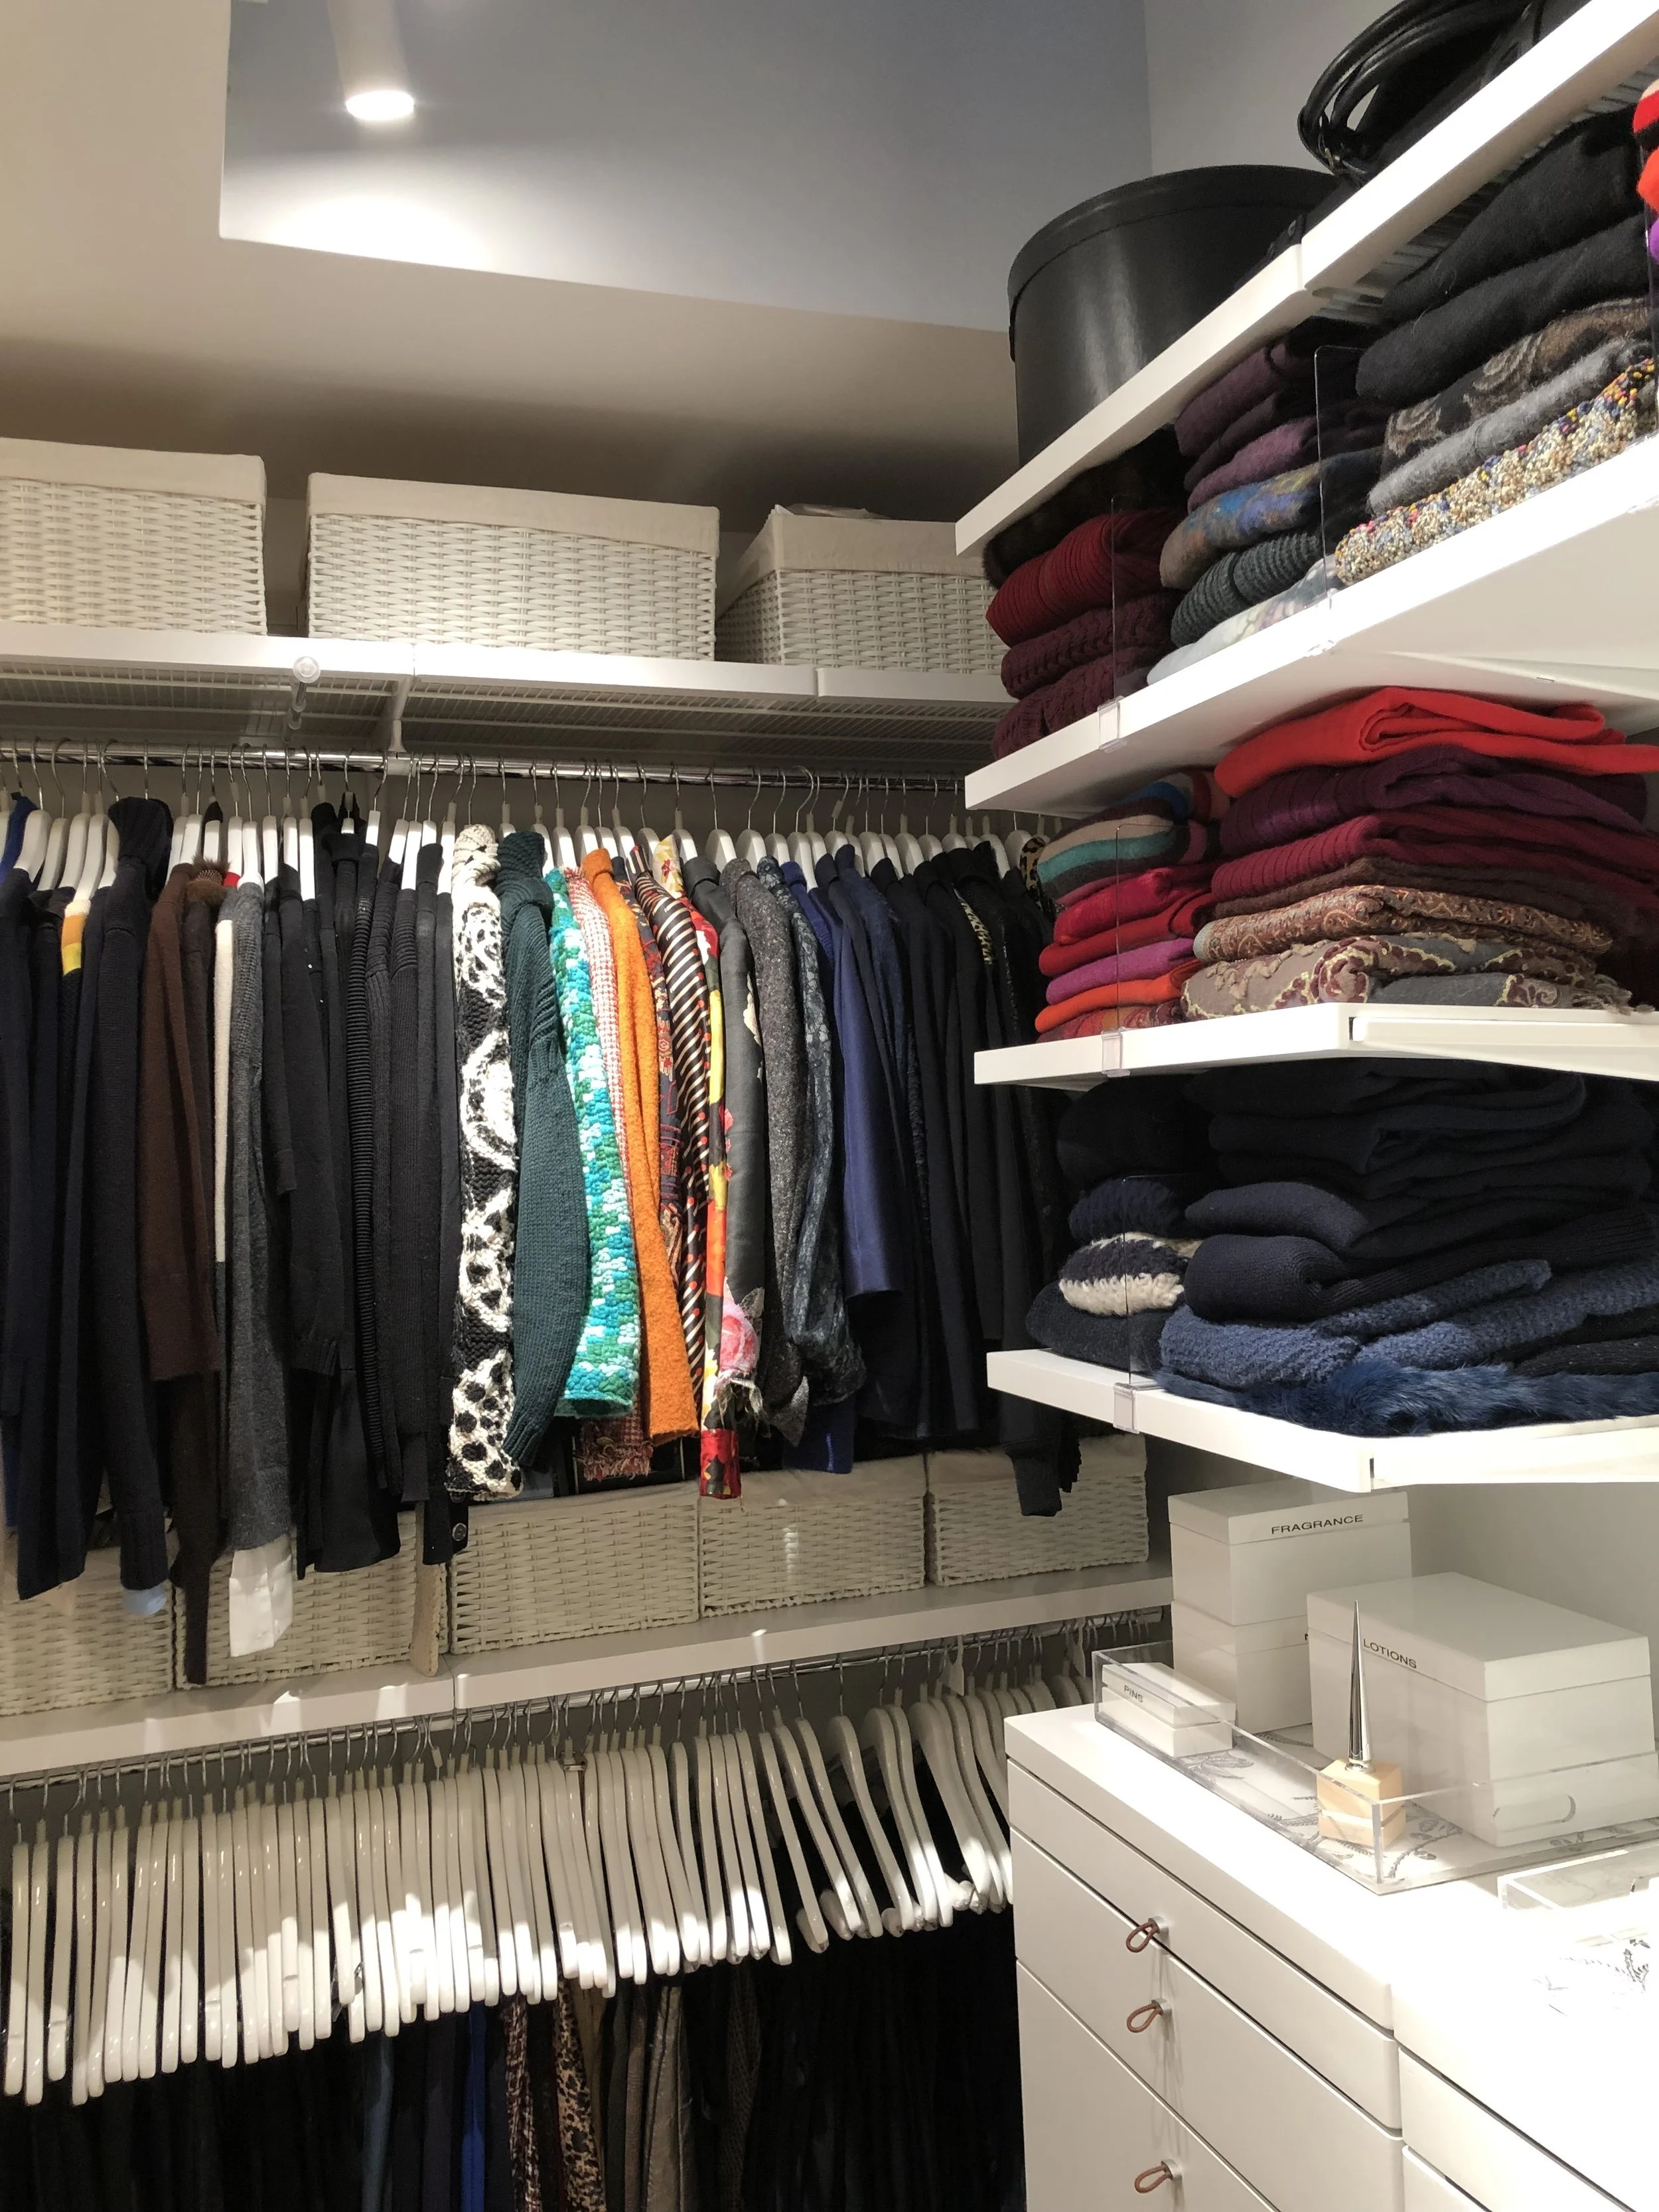
I also realized I had a hanger challenge; I didn’t have enough — actually far from it.  Since I had kept a seasonal closet in my last apartment, I only needed enough hangers for one season, roughly 1/4 to 1/2 of what I actually needed. Those hangers were custom made — white wood with linen cushioned bars (for hanging pants without a crease), padded skirt hangers, etc.  I didn’t want to go to the expense (or time) to have more hangers made, but I’m a stickler for organization, so how do I resolve using 2 different hangers in the same closet?😱   I found the perfect solution.  On one side of my closet hang the super lux hangers, and on the other side hang the incredibly economical Container Store white wood hangers.  The custom hangers are rounded and the Container Store hangers squared, but other than that they are pretty similar.  All my skirts, pants and super lux blouses now hang on the custom hangers and jackets, coats and dresses hang on the Container Store hangers.  Problem solved. One other great tip — the Container Store hangers have grips for items that can easily slip off a regular hanger. 

Lesson #1 — Always use wooden hangers ❤️ I know the huggable hangers are incredibly popular, and I actually use them myself to transport my seasonal wardrobe, but for everyday use, the wooden hangers will preserve your wardrobe and keep your clothes wrinkle free.  

Lesson #2 — Be flexible, in my experience, no matter how much pre-planning I do for a space, it’s not until I’m actually working in the space that I can see the true possibilities.  My closet went through many different versions before I found the one that really worked.   

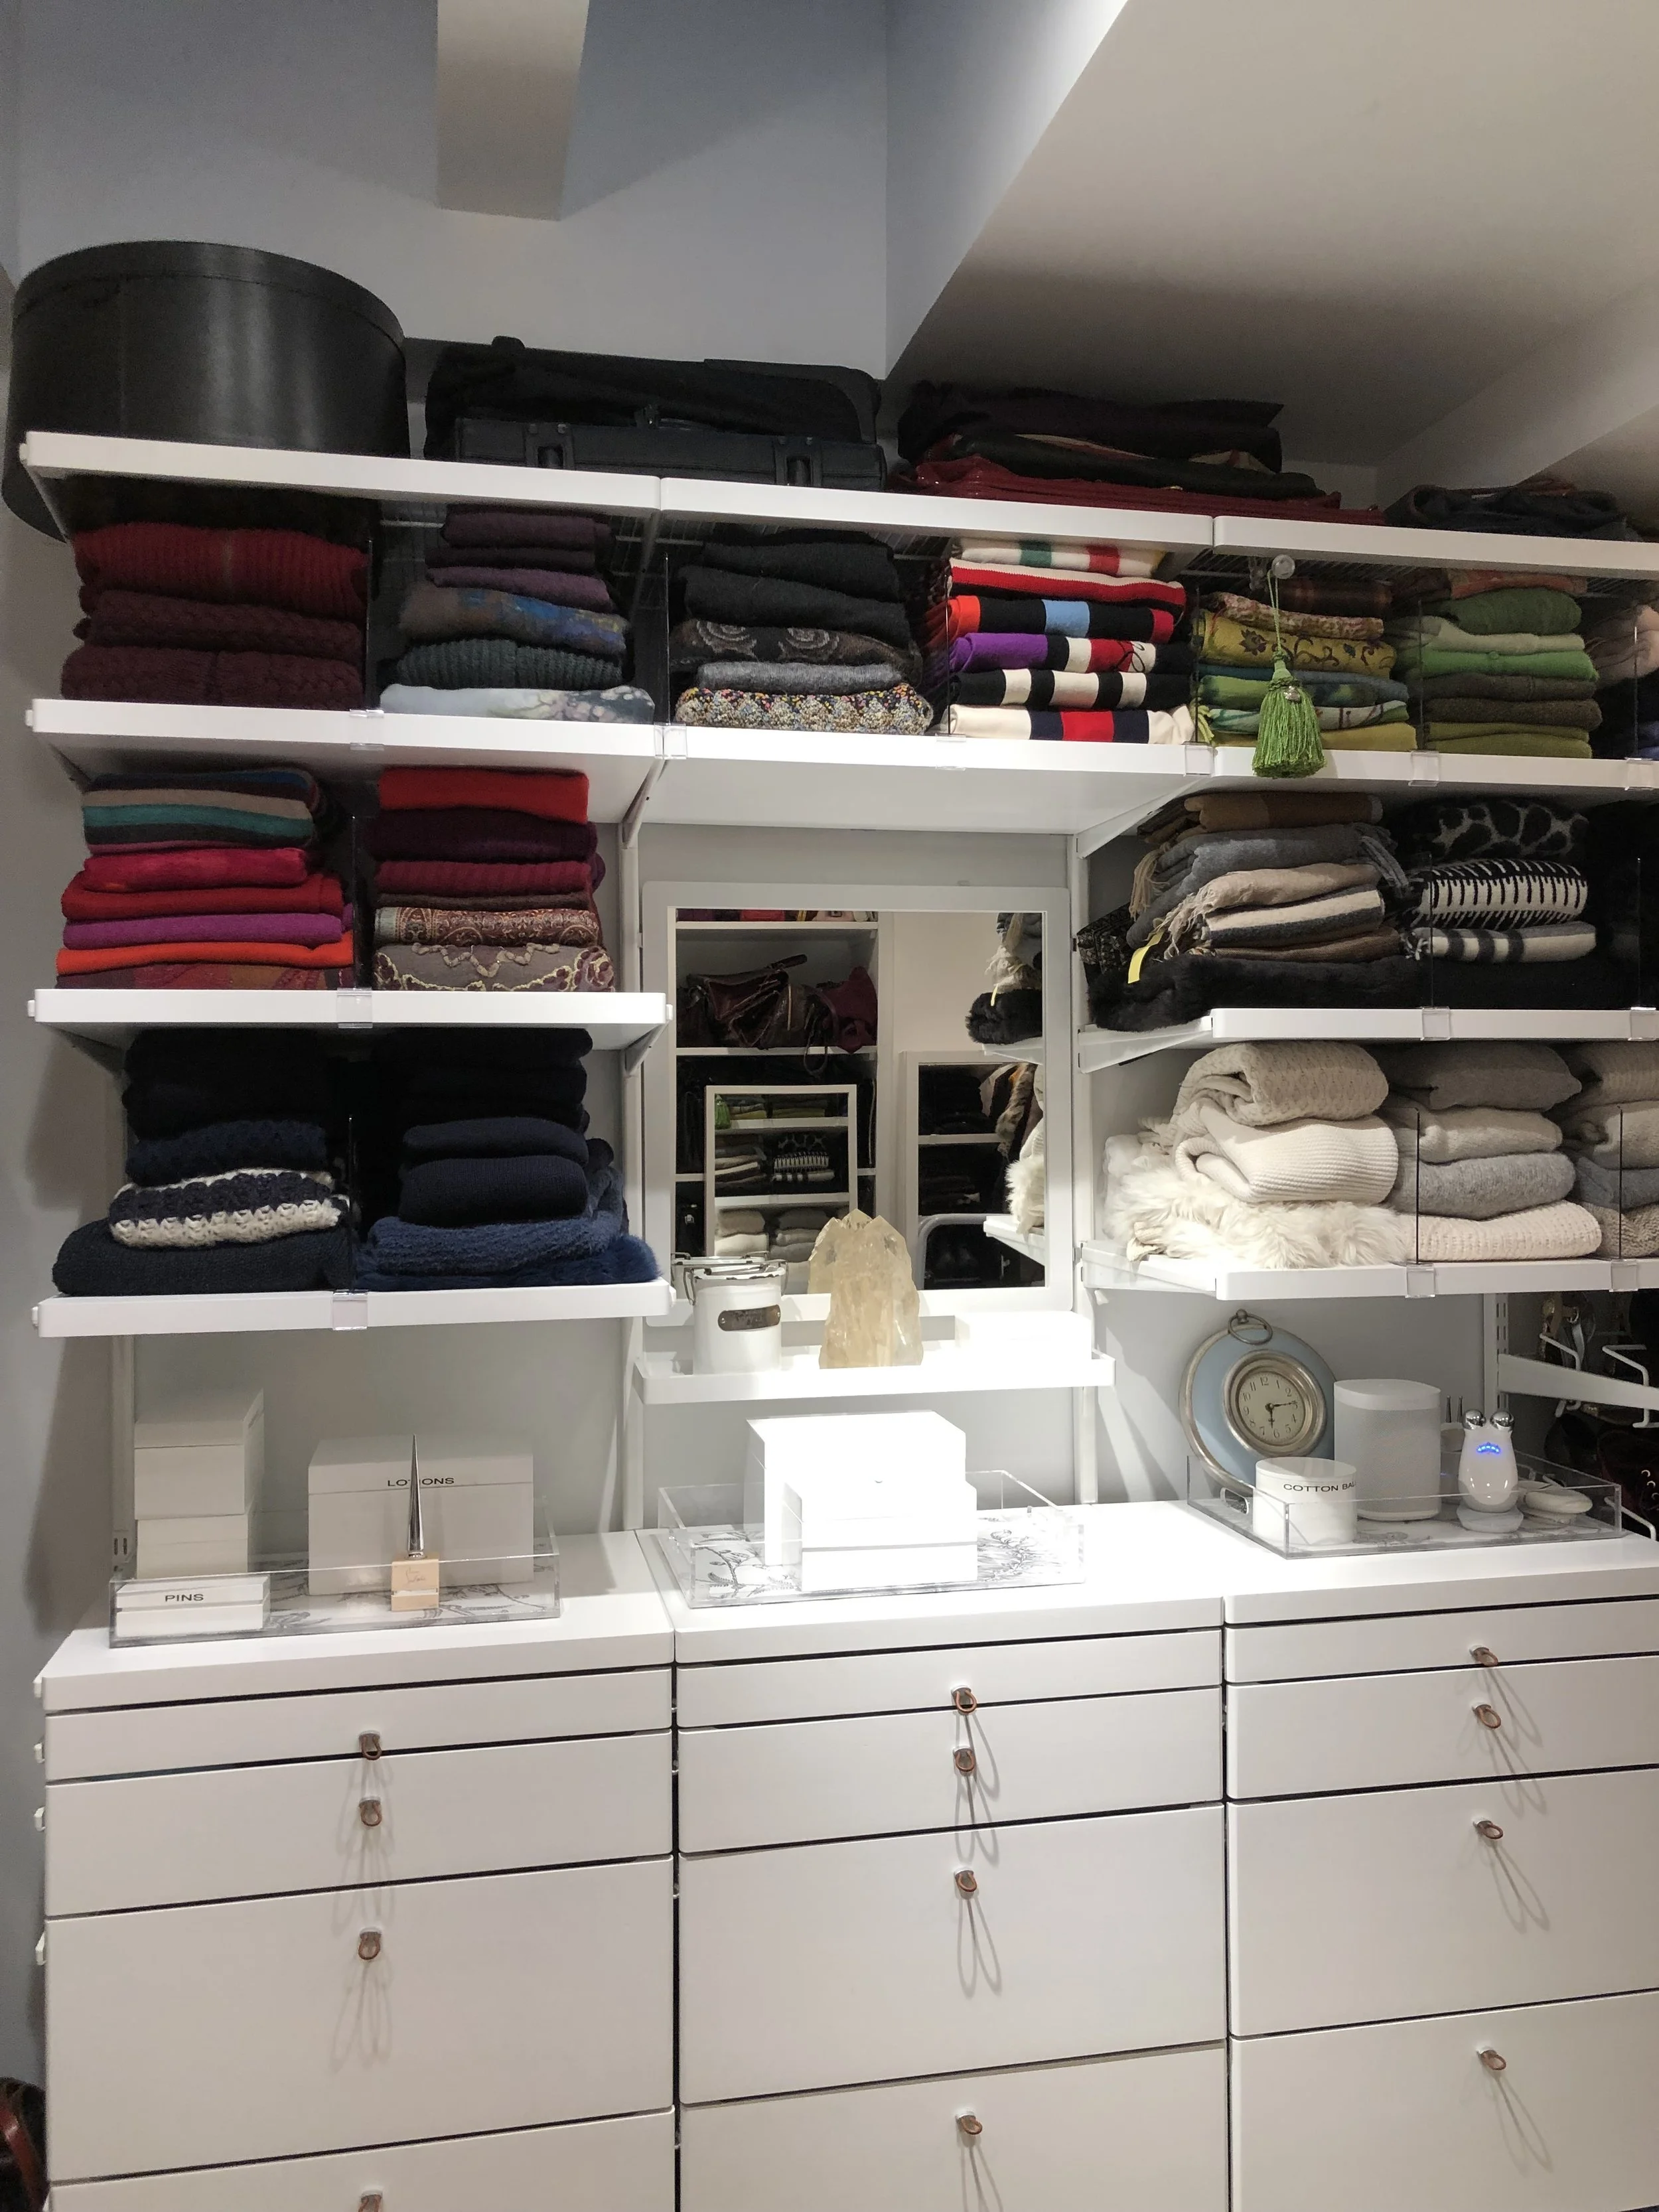
Now that the hanger issue was solved, it was time to tackle sweaters.  I categorized the sweaters into basic and fancy.  Basics went into drawers and were sorted by color, style, fabric: i.e.: black - sleeveless, t-neck, crewneck — cashmere, wool, cotton.  The Container Store sells dividers for the Elfa mesh drawers I used, which worked like a dream.  Each sweater drawer held two dividers that created 3 compartments.  I used the Marie Kondo burrito folding method and voila’ instant organization. The fancy sweaters were folded and placed on the shelf by color.  

Next-up the scarves 🧣.  I reserved two drawers for scarves.  All the smaller scarves were folded and placed in the drawer in color order, again I used two dividers to make three sections.  The larger scarfs, like the sweaters were placed on the shelves in color order.  In this instance I mixed scarfs and sweaters to keep the color blocks consistent - my one nod to form over function.   

Lesson #3 — The more organized your clothing, the easier it is to get dressed in the morning — it’s a fact!

Lingerie 👙was next and this required an entire row of four drawers.  This time I used 3 dividers per drawer for 4 compartments.  Bras in one drawer divided by color.  Panties in another divided by color, tights in the next, divided by color and opaqueness and finally night gowns and pajamas in the last drawer.  

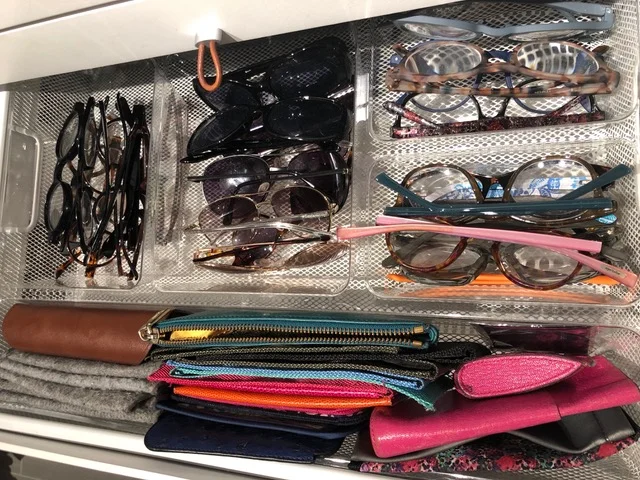
My favorite drawer in the closet is the drawer for my glasses. 👓🕶 Oddly enough it was a life changer. It wasn’t something I planned but was inspired by an item I found at the Container Store that slipped into the mesh drawers and provided small compartments.  I used it for my glasses, which I have many! Sunglasses, reading glasses, eye glasses, etc.  and I am ALWAYS losing or misplacing one or the other. Now they're divided by type and style, and I'm never in need of finding a pair of glasses again!

Lesson #4 — Look for innovative hacks to organize your treasures. New items are developed every day that may (or may not) solve an organizational problem for you.  Be creative about everyday items that might be up to your organizational challenge. 

Next time, basket case….

Marie Kondo is in my Condo — Part 1

Prior to finding our current renovation project, I made a mental list of must haves for my new apartment.  The #1 item on my list —  a sizable closet.  I’m in the fashion business and have accumulated many amazing items over the years — and unlike my relationship with homes, which I seem to shed every few years — purging my wardrobe is an almost never proposition.  As a result, an efficient closet was a must have for me.  In every apartment we looked at prior to this one, the “closet room” was always a compromise — it was either a maid’s room or 3rd bedroom that had to be turned into a closet and it always made me feel that perhaps that wasn’t the best use of the space.  When we first looked at the Museum House apartment, I knew exactly where my closet would go.  There was an office on the apartment’s lower level that was screaming for a purpose.  Although no windows, the space had a large skylight that brought wonderful natural light into the space.  In the end it was this space and its practical function that would be the decision maker on whether or not to purchase this apartment.

Lesson #1 – It’s not always the big WOW moments that make the sale, in most cases, it’s the functionality of a space that makes the sale. 

 Selfishly, the very first item I tackled once the sale was closed were the closets, with mine being the priority.  My dream was to finally have a space that I could fit all of my clothes — no more seasonal storage. The first decision — the closet design.  In all of my past renovations, except the beach house, I used California Closets, and I’ve always been very satisfied with the result.  For the beach house renovation, I switched to the Container Store Elfa closet system.  Why, you might ask, would I choose this system for a high-end city apartment?  The most impressive element of the Elfa closets is the enormous flexibility of design, not only when you are in the design process, but afterwards as well —  as your wardrobe evolves.    And each season when your closet needs to function differently i.e.: more shelves for sweaters in the winter, more drawers for swim suits in the summer the Elfa system adjusts.  

Lesson #2 – The closet is the one place function wins over form. 

THE SPACE — The room 12X8,  is almost a perfect rectangle, larger than the average size NYC bedroom.  The space had two small closets, one I took out completely to create room for a steaming closet and the other I took the doors off of to create a handbag nook.  There are two big doors in the space that lead to a small space that houses the apartments HVAC system. The dreamy big skylight allows natural light to pour in, in addition to natural light I have 6 high hats and track lighting that illuminate the room to perfection.  

Lesson #3 – Light is the most important element of your closet.  If it can’t be natural, make sure the illumination is as close to natural as possible.

All of my clothing had been in storage for the past year except for a few key pieces, so when the closet designer from Elfa asked me how many skirts, pants, shoes, etc., would be housed in the closet — my answer was "a lot”.  The reality was, I had no real idea of numbers and was not able to access any of my clothes to do a quick count.  Also, with the Elfa design flexibility, I could always change a dress space into a skirt and blouse space if needed and with minimal cost.  So – we winged it! The most important element to me was the layout.  I wanted the “statement wall” of drawers and shelves to be in the center of the room with each side wall housing both long and short hanging.  Early in the process it became clear that my dream (and Marie Kondo’s wisdom) of "everything in one place" was not going to work.  My coats would not make the cut into the new space. Without even moving in yet, I already required a satellite closet. Ugh! My dreams dashed….

Lesson #4 – Use Marie Kondo as a guide, not as a rule.  The perfect situation is rare, and Marie’s advice is great for a suburban house, with lots of “storage” space — but not a NYC apartment. 

Stay tuned for Part 2…

Lower Level Bathroom - Part 2: Dancing on the Ceiling

Now that we had the framework of the bathroom finalized it was time to select the materials.  I had originally selected a beautiful creamy colored Ann Sachs square tile — I had used it in my Connecticut master bath and loved it.  Unfortunately, it was not a win in this space. The tile color was too similar to the floor tile and provided no contrast in the bathroom.  It was completely counter intuitive to me that a monotone color palate would not work in such a small space.  

LESSON #1 — Put samples of all of your materials together in the actual space before making your final decision.  Even the most seasoned professional needs to experience color and pattern in the natural light of the space.  

Charles Riley, my designer, and I immediately pivoted to a bright white simple subway tile (also Ann Sachs), while not as interesting a tile as the cream-colored square, it provided the right amount of contrast for this intimate space.  The next decision was how much to tile.  Traditionally bathrooms are tiled to counter height with the shower going to about 3/4.  That was never a look that appealed to me - it felt dated, mid-century but not in a good way.  Sooooooooo, we tiled the walls right up to the ceiling, we liked it so much that we kept on going — much to my contractor’s dismay.  

LESSON #2 — Do not go with convention.  It’s the unorthodox idea that makes the space.

Tiling the ceiling, while not a traditional choice, was the best one for this bathroom.  We were able to keep the eye moving upward and beyond.  The shine of the tile gave the illusion of a never-ending ceiling, almost like a mirror — but subtler. That one small decision completely changes the feel of the bathroom.  

The next BIG decision(s) — medicine cabinet or not, which went in tandem with the vanity or pedestal sink decision.  If I choose a large built in mirror over a pedestal sink — that would give the bathroom the most spacious feel, maximizing the negative space.  However, practicality does have to weigh-in from time to time.  

LESSON #3 — Form does not always trump function.  

Even though this is a “guest” bathroom, storage is a fact of life and a necessity, so I had to choose my poison.  Either a medicine cabinet over the sink accompanied by a beautiful vintage pedestal sink — or a built-in tile framed huge mirror over a vanity with storage drawers — up until this point in my career as a mad renovator I have never compromised on either.

LESSON #4 — There is a first time for everything.  

The size of this bathroom did not afford me the luxury of being clever with the space.  The stacked washer and dryer were the most important feature and in order to fit that in I had to make a compromise on this point.  I ultimately choose the vanity option.  I adore the huge built in mirror and felt that would be the focal point of the bathroom.  It too brings light and interest into the room — especially with the vintage feeling light fixture I landed upon (which was the absolute most difficult item to find for this bathroom).  The vanity has two functioning drawers, just enough to hold must have bathroom items — especially when you don’t want to trek upstairs for a new bottle of shampoo or a bar of soap.  The antique mirrored drawers complete the old world look of the space, while keeping the glamorous shiny vibe of the lower level.  

Next stop MY CLOSET — the most personal space in my apartment.  

Lower Level Bathroom: Hate at First Sight

The lower level bathroom was the first bathroom of the three that we tackled.  It had not been renovated since the 70’s/80's — it still had a taupe tulip sink, pebble glass sliding shower doors, and a travertine tile floor 😱.  Hate at first sight is how I would explain my initial reaction to the space.  Although this should have been an obvious and easy cosmetic redo, I of course had to complicate matters. The apartment washer dryer was an all in one upright (ugh!) and it was located in the coat closet on the main level of the apartment — that would definitely NOT work for the needs of the Lividini/Speredakos clan.  

First order of business was relocating the washer dryer. After much debate on upstairs vs. downstairs we made the decision to relocate the unit to the lower level bathroom.  In order to make this work I had to decide to either make the full LL bathroom into just a powder room or split the existing shower space and install a new stackable washer and dryer. I choose to keep the full (3/4 technically) bath and make the shower cozier.  

Lesson #1 - Never get rid of a shower! Ever! Even though it may fit your need for the moment, resale value always needs to be in the back of your mind. 

For our Connecticut house, after much searching  I found the washer and dryer of my dreams — Beko, I bought the same exact pair for NYC. They're compact; the washer has both a delicate and sanitize option (plus others) and the dryer comes either vented or ventless (key for a NYC apartment), with both an extra dry and timed dry option. Heaven!

Lesson #2 - Always go with the tried and true, if you find something you like stick with it.  

Now on to the creative — first stop the shower enclosure.  I had collected barn door tear sheets for years and thought this was finally the perfect situation for a frosted glass barn door. It would cover the washer dryer when slid to the right and the shower when slid to the left. Voila! Now we just had to find the door my imagination conjured-up and Artur my contractor found it!  

 Lesson #3 - Nothing is ever that easy. Always plan for the worst, while hoping for the best. 

The door arrived, but the polished chrome hardware did not match — how could that be, aren’t hardware finishes all standard? NOT. The manufacturer insisted it was the correct finish even though it was closer to polished nickel than polished chrome.  Next issue, we couldn’t hang it properly without jury rigging it to death.  At this point I needed a reality check and had to move on, dashed dreams and all.....

Months went by as I deliberated on how to solve the problem of the shower enclosure while trying to hide the washer/dryer. After hours and hours of searching Houzz, Apartment Therapy, home magazines, etc. I finally came up with the most low-tech, unoriginal solution — a SHOWER CURTAIN. I actually needed two, stretched across both the washer/dryer and shower. I ordered custom white pique curtains from Gracious Homes with a polished chrome rod and rings. 

Lesson #4 - The most obvious solution is usually the best, although I resisted a curtain in the beginning, it would have saved me much time and money if it had been my first choice.

Stay tuned for my next post, which will continue to detail our LL bathroom reno…

Part 2: Revolving Doors

We left off with the great flood #1 (I know that begs the question, was there a flood #2? — more on that later).  I will leave it at that for now, as the details deserve their own blog post —back to the lower level doors.  I asked my insurance adjuster on a scale of 1 to 10 how bad in his opinion this flood was, he responded immediately — a 10+.  The eternal optimist in me didn’t think this was a catastrophic incident — the adjuster, readjusted my POV.  Our VERY large wooden LL closet doors were one of the most effected items in the flood.  They were drenched with an endless source of running water pouring over them for hours, and as a result, sitting in water for hours. Since the doors were so long and narrow, they warped and peeled and eventually became moldy.  In the end, there was no saving them so even though there was a thrifty solve for the door challenge — it was for naught. Back to the drawing board.  

Lesson #1 - Find the silver lining, almost every home renovation disaster has one.  Now that I had to get new doors, (and because of the size they had to be custom) I could select any type of door I wanted - WOW exciting. Not!

Lesson #2 - Too much choice is as difficult to sort through as no choice at all.  Back to my inspiration book and countless hours on the internet surfing for the perfect doors.  My taste and all my tear sheets referenced antique French doors with complex designs, mirror or glass panels with elaborate old world details and vintage hardware in nickel and bronze.   Not really right for my ceramic “wood look” floors or the space size in general.  

Lesson #3 - Let the space dictate the design.  You must take clues from your space, and although I wanted to get the most impact for the buck, the landing called for a simpler door.  My contractor Arthur created a hybrid frame design that perfectly fit the space and we went with a traditional French door with eight mirrored panels and beautiful articulated knobs.  Enough pizazz to make it feel a bit old world, but modern enough to satisfy the space.  

Lesson #4 - The simplest approach is often the best.  

- Jaqui AKA Mad Renovator

Part 1: When One Door Opens…

To my eye the most unsightly item in my new apartment (apart from the black marble bathrooms) were the lower level landing closets.  The ceiling in the stairwell is quite high so the doors are an impressive 10ft. floor to ceiling. When you walk down the stairs it’s the first focal point.  I understand the look the original designer was going for —  a modern mid-century look (note: these were designed before mid-century was a thing!), with 6 frameless doors.   When in a closed position the eye was fooled into seeing a complete wall. However, after years of painting, repainting, cracks and chips, this very modern look was more dull than daring and the eye was not fooled at all. What to do? It would be quite an investment to replace the doors, but ultimately it had to be put on the “to-do” list if I was ever going to use the lower level.  

Lesson #1 - If you can’t live with it, find a solution, you’ll never be happy in the space until you do. My “door” epiphany came when searching for wallpaper for our 2 bedrooms.  Charles Riley, my friend and designer, found a fabulous paper (at Anthropology, a great resource for decorative items BTW) that happened to come in vertical sheets the same size as the doors .  The paper was a perfect and very economical solution, and it was not a compromise at all, the best type of solution for sure. 

Lesson #2 - Always search for the lowest cost solution possible that still fits into your aesthetic. 

So we were all set! The paper was purchased, the wallpaper hanger was scheduled and then — the water came! 

I’m not going to go into detail about the 1st flood in my apartment on this post, but needless to say it completely disrupted my entire renovation.

Lesson #3 - Never get too attached to a design idea, the minute you do, the GODS will laugh…

- Jaqui AKA Mad Renovator

It's All In The Details

Small details matter, that is Lesson #1 of this post and it starts with something as mundane as vents!  The ceilings of the lower  level closet, family room and bathroom all had ceiling vents.  The ugly industrial type, the type that makes you feel like you’re at the office – ick!  Every time I entered one of these rooms, all I could see were ugly vents.  Lesson #2 – if your eye immediately fixates on something in a room, don’t ignore it, it won’t just go away.  And for sure these vent covers were not going away, unless I made them.  But before I made that drastic decision I decided that perhaps cleaning 30 years of accumulated dust and grit might appease my eyes.  So I asked my contractor to vacuum the vents with his Shop-Vac. Better, but still not great. Plus, the family room vent had packing tape over the slots which prevented the air circulation downstairs. It took me an entire day and a bottle of Goo Gone (my FAVORITE degunker) to get that vent in acceptable shape again.  

While the cleaning certainly made a difference, it didn’t completely solve the problem. I decided to keep the family room vent which was made of mirror, it suited the space and without the packing accessory, actually blended into the space.  Lesson #3  first try the least expensive/invasive problem solver, it just may work and save you time and money.  Unfortunately, the two other vents needed a new cover. The good news, when I started looking for an alternative I found an infinite array of options – which begs the question, why would anyone settle for the obvious mundane choice? Perhaps it’s the contractor that made the decision, based on time and convenience.  That’s when you must make sure that you are controlling the outcome on every detail, even one as small as a vent cover.

Back to the search for a new cover.  Now that I was faced with a multitude of choices, I had to narrow it down to one, which was not easy for me!  That’s when the light bulb went off --  I remembered that at the beach house we used Reggio Register covers for all the floor vents. Well, why couldn’t we do that for the ceiling vents in the apartment? Even though each dwelling had a different feel, both were similar vintage.  Perfect solution and problem solved! Lesson #4 never settle, what you are looking for exists, it may even be right under your nose.

To review:

Lesson #1 – Small details matter

Lesson #2 – Your eye never lies

Lesson #3 – Try the easiest solution first

Lesson #4 – Never settle

 - Jaqui AKA Mad Renovator

Lower Level - Part 1: Floored

Out of the seaside garden and back to NYC for an update on the “quick” (NOT) renovation project! Now that we had our blank canvas, it was time to make some actual decorating decisions.  Decision #1 — Begin with the lower level because I felt it would be a quick win — self-contained, easy and fast.  Well of course that brings us right to lesson #1: nothing is easy and fast in the world of DOAMR projects.  

With all white walls my focus was now on the icky carpeted cement floors.  My inspiration tear sheets — and my desire for maximum light, all pointed to a bleached white wooden floor for the lower level.  I envisioned this space as a modern white box, spa like in its vibe.  A sanctuary for... well actually me, my sanctuary, although I had not shared this revelation with the rest of my family yet.   

I couldn’t understand why the previous owner covered the cement floors with carpet instead of wood, I thought perhaps it was cost efficiency.  Which brings me to lesson #2: whenever something seems off center, there is always a good reason -- just under the surface — and in this case, literally under the surface!  When the floor expert came to inspect the space and propose the “right” wood floor — he had an immediate negative reaction. Even though the lower level is not underground, the floor expert felt the cement floor wood be too unpredictable in this environment and suggested a laminated wood floor.  ICK! No way would that work for me.  I had used a tile floor with the look of wood plank in my master bath at the beach house.  I was reticent at the time about the “faux” look, but my designer Charles Riley talked me into trying it.  I loved the way it turned out.  Lesson #3: experimentation is key to good design.  With that in mind I called Ann Sachs to try to get the same tile for my lower lever, and unfortunately it was discontinued. Another road block.  Arthur, my contractor, came up with an alternative tile that was actually perfect (and as the story continues it became more perfect, but more about that later).  More bad news was on the horizon though, the LL foyer and family room were all set, but the LL office which was now going to be my closet, had a cement floor that was cracked and uneven. In order to tile it I would have to take the current cement floor out and pour a new floor.  That was definitely not in my existing budget, so like the previous owner, I decided to re-carpet my closet. Lesson #4: the inexpensive option is not always the inexpensive option.  In this case it actually ended up costing me more to take this route — again, more about that in the future ….

The carpet I choose for the closet was an ivory snow leopard print. Perfection I thought, just enough zip to be impactful, but not too much to compete with the wardrobe.  From just about the first day the carpet was installed the problems began.  I’m not sure if it was the uneven floor or the dampness of the cement, but the carpet actually erupted in waves, so much so that I would actually get seasick in there on some days — not a great start to for my lower level sanctuary.  I had the carpet company come back twice to fix it, it would be ok for a week, a month or two -- then the waves would erupt again. 

To Review: 

Lesson #1 — Renovations are never quick and easy. 

Lesson #2 — There is always a “good" reason for quirky.

Lesson #3 — Experimentation is the key to good design.

Lesson #4 — The inexpensive solution is not always the inexpensive solution.

We will continue the journey of the lower level in the coming week’s blog…

- Jaqui AKA Mad Renovator

How Does Your Garden Grow: Part 2

As you all know I create inspiration books for all of my projects.  When I was imagining the garden for the beach house, I kept clipping photos of stone patios.  I’m not sure why they appealed to me so much — especially in a beach setting, but I had my heart set on a big old round patio made from large granite rocks.  Easy yes — well, no.  All my clips had beautiful blue granite stones, however all the natural stones surrounding my house were pink.  The decision to be made — go with my favorite dreamy blue stone or match the existing pink stone.  I begrudgingly went with the pink stone - in the end I felt the stone needed to feel authentic to the property and the surrounding natural environment. Lesson #2 – stay true to your environment.  

Finally, the actual garden — I decided that I wanted a natural feel of a country garden that surrounded the stone patio, an oasis apart of yet separate from the sea just a few feet away.  My inspiration book was filled with high beach grasses blowing in the wind, lots and lots of Hydrangea in pink, blue, and purple, and finally fuchsia beach roses — the perfect and necessary addition to a seaside garden. I actually was able to incorporate all of the above — it turned out that I did have some control over this situation! 

The final piece to the garden puzzle was the fence and trellis.  John and I agreed on the fence, a traditional white picket one — but had differing opinions on the trellis.  John wanted an arched trellis; my inspiration book was filled with squared off versions.  John won this one — I couldn’t find the squared off style in the right size for the space we were working with.  In hindsight, I believe John was right, the rounded arch is a perfect frame for the garden and sea behind it.  Lesson #3 — Even if your heart is set on something, be open to other options.   

The garden turned out to be the easiest of the house projects.  Once I was engaged it actually wasn’t scary at all.  I still have moments when I feel that Mother Nature is not my friend, but for the most part the garden is behaving, following the rules, and I am in charge again - YAY!  

- Jaqui AKA Mad Renovator

How Does Your Garden Grow: Part 1

Since we are in the thick of the summer heat, let's take a break from my dreary, hard core NYC renovation nightmare — and head back up to the beach to visit my saltwater garden on the sea!

Creating a garden was scary to me at first - it’s unlike a renovation, where if you paint a wall white, it stays white — until you decide to change it.  That is what I call, total control and I’m sure you’ve surmised by now, I love, love, love total control! Landscaping on the other hand is truly in the hands of the Gods. You’re working with living things that do not bend to your will - UGH! As a result, I was reluctant to start this project and actually put it off for a year, making excuse after excuse to delay. 

The double trouble began with the devastation of Hurricane Irene and Hurricane Sandy.  There were many decisions to be made post devastation that would determine the look and complexity of the garden.  Being that the house is a coastal property, the hurricane soaked the existing garden in salt water, which killed just about everything - except the invasive weeds!  One stroke of good fortune, the Maple tree that John and I loved so much came back the next Spring. We were worried that we had seen the last of it, as the waves were so high the salt water turned the entire tree black.     

Fast forward to last Spring, when I had to bite the bullet and begin the last leg of the cottage re-do — the garden.  I learned a new word, hardscaping (who knew!). It’s was my new favorite term… it meant I actually did have “some” control over my garden.  Hardscaping is the non-organic, construction part of the landscaping process (and the costliest).  My first hardscaping decision, what to do with the driveway? During the cottage restoration when we decided to lift the house 9-feet, I also had to decide whether or not to keep the driveway in its original location and size. I was so overwhelmed by the cost and scope of the house lift that I couldn’t focus on another decision, so I kept it intact. Now that we were planning the garden we had to re-visit the driveway — and again, in the end we decided to keep the big black top driveway. With the house lifted, the nifty cottage barn doors and the new staircase it just wasn’t an eyesore anymore.  Good thing I put the brakes on redoing the driveway the first time around.  Lesson #1, when in doubt — wait.  

In my next post, How Does Your Garden Grow: Part 2, I share lessons #2 and #3. Until then…

- Jaqui AKA Mad Renovator